

I'm totally in love with kitschy Christmas decorations and GLITTER!!...yay I just love me some glitter during the holidays...don't you?....Any who so I wanted to create a fun little glitter "globe" to hang on our tree that little girl could help make! After seeing this lovely tutorial here and drawing inspiration from it, I came up with this little ornament and tutorial!Also, I created this with items found around the house so don't fret if you don't have a deer or such, the trees will be fab all by themselves!!
Supplies:
Baby food jar (with lid)
Glitter...YAY
Scrap fabric and felt(but you could just use fabric if you don't have any felt)
Q-tips or something similar that's easy to cut
Glue: white and hot glue
String to hang your ornament with
Any other interesting finds you would like to stick in there!!
Something to poke holes in the top of your lid, I used a drill press but you could also use a nail and hammer.
Step 1:
Make sure you've added your holes to the top of your lid and evenly paint it with your white glue.

Sprinkle your glitter using your finger to really press it on! After your done with the glitter use a pin to clear the holes and set it aside to dry.

Use the top of your jar to trace a circle onto the fabric you are using for the bottom of your jar. I traced the top of my jar instead of the bottom a it is much easier as is doesn't have a curve. Use your white or hot glue to glue your circle into the bottom of your jar.

Size and cut your Q-tips to fit in your jar, be sure to cut off the fluffy ends.

Step 5:
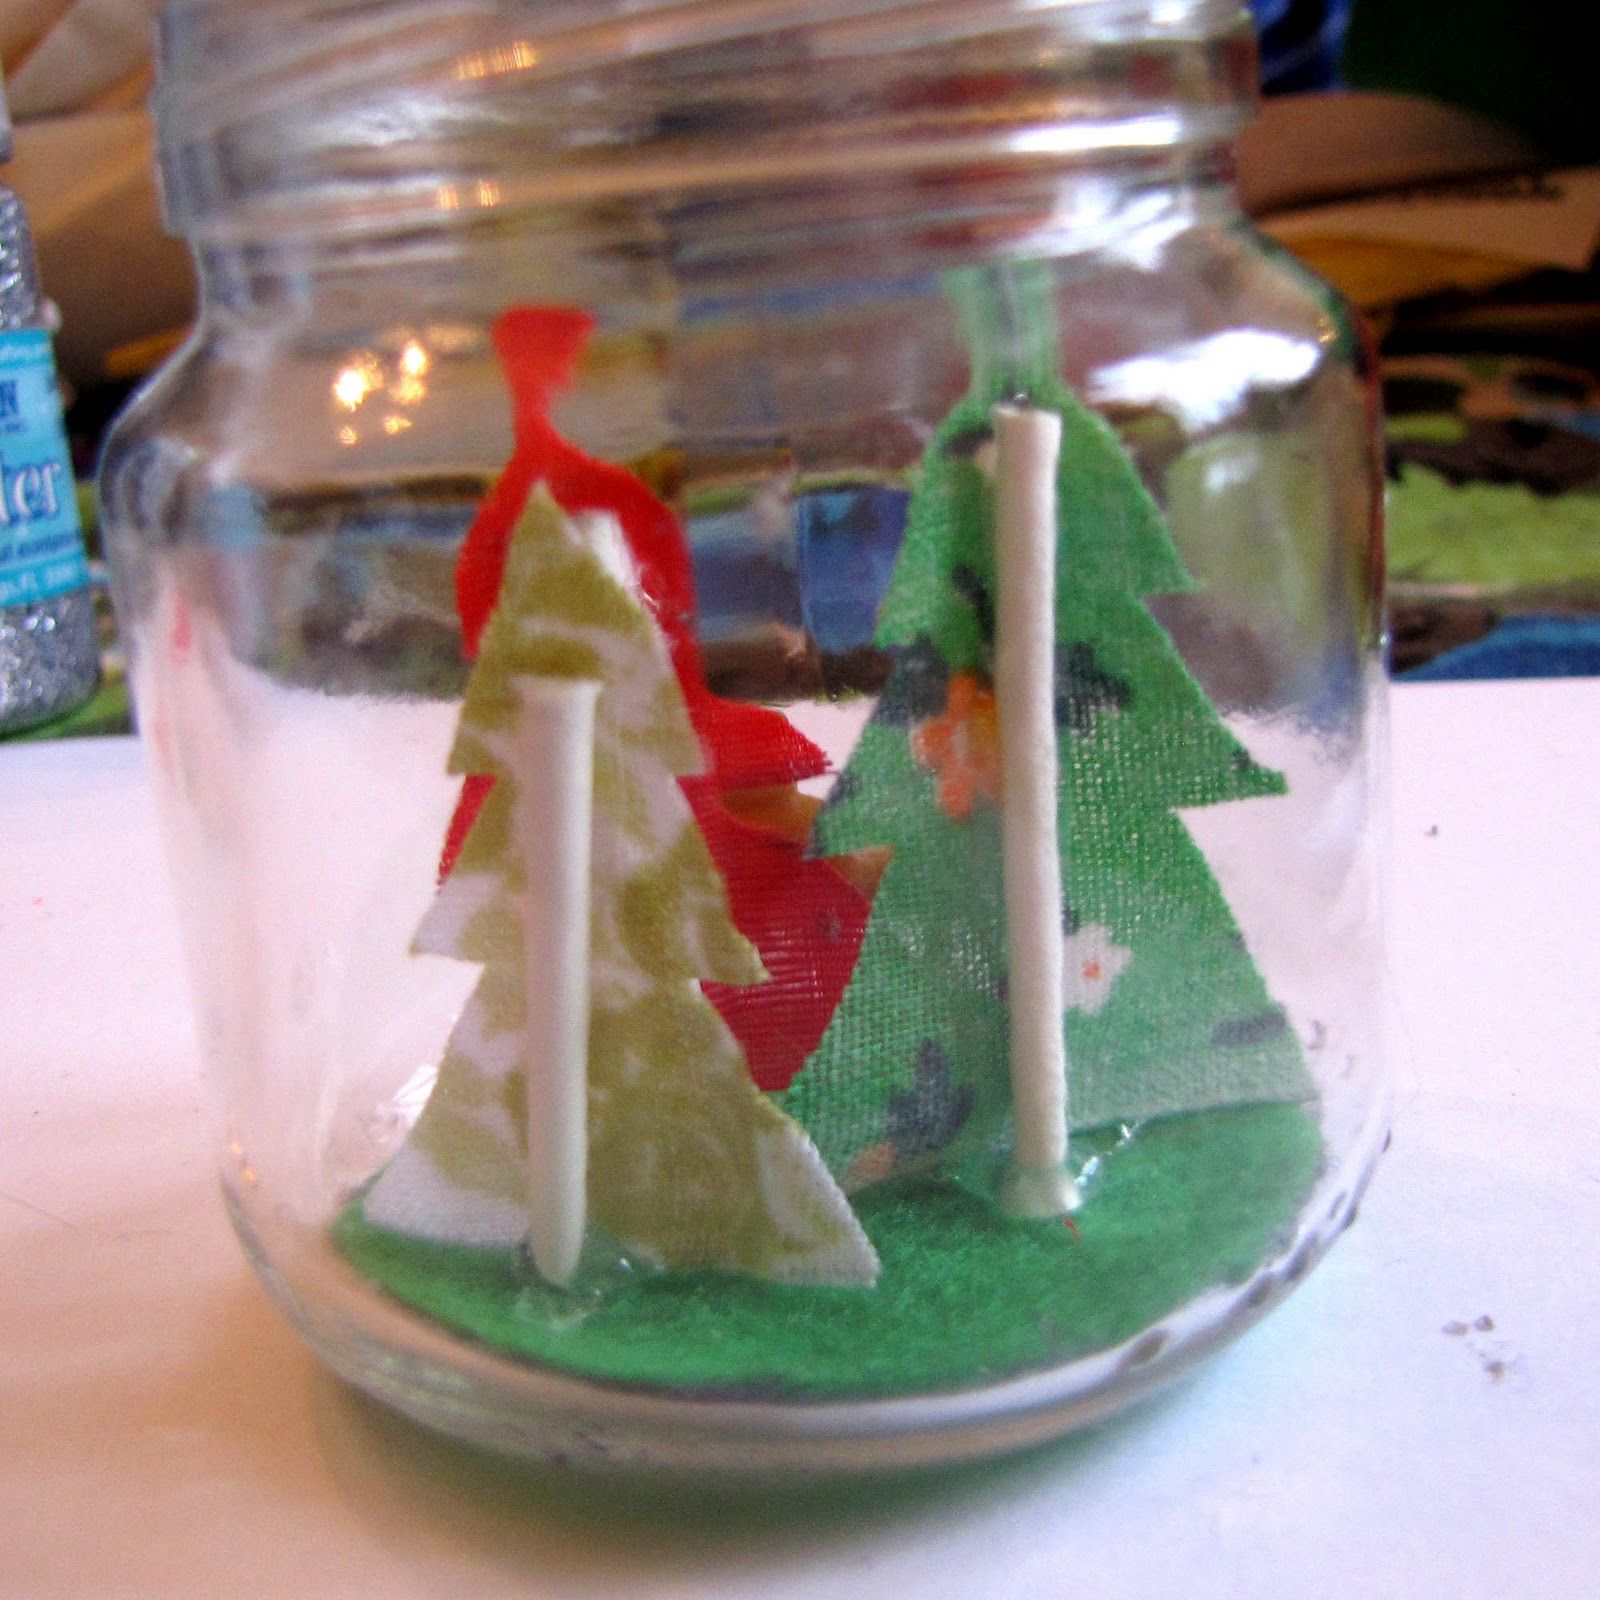
Create your trees using your scrap fabric. I ironed and used heavy starch on mine then freely cut them as I wanted them to have that handmade look:)

Use your hot glue to glue your trees onto your Q-tips. Then add a blog of glue to the bottom of your Q-tip and stick it to the bottom of your jar. Also use your hot glue to add any other little fun features to your jar.
Note: I choose to use hot glue for this step as it made it much easier to keep the trees standing and such:)
Add your glitter, I used a lot so it would look like snow drifts and cover up any big glue blogs that may have accidentally occurred..haha:) Add your string through your lid, and securely add,I glued mine because of little fingers:) lid to the jar.
Your Done!!! Shake it up,hang it up and enjoy!!


1 comment:
This is so very sweet...and great to do with my little girl!
**Helena
Post a Comment