I got the inspiration for this easy project a while back via link on Pinterest. As a little side note if you have not visited Pinterest you totally need to check it out, I'm a self confessed pinterest addict:) Here's a link to my account if you want to check out my pins:)
Any who I love little projects like these because for the most part little girl could do it by herself. As well as the fact that it took longer than 5 minuets to complete, pretty much held her attention for most of the project, and it has very little set up time (which is usually where you loose their attention).
Supply List:
Clear contact paper
A plate or something round to trace
Nature items from your yard, most anything works but just be careful the items aren't to heavy.
Yarn or string of somesort
Steps:
1.Trace your plates or other circular item on the back of your contact paper, cut out circles and set aside.
2. Grab your little one and set out on your nature collecting adventure! You may need a bag to hold all your goodies!
3. Once you've collected all your items peel the backing off of one of your contact paper circles. Have your little one stick their collected nature items onto the circle.
4. Peel the backing off your other circle and carefully line up and stick the 2 together. They don't have to be to perfect as you can trim them if needed.
5. Cut small hole in top and attach string. Hang and enjoy!
All done!!
Showing posts with label Tutorials. Show all posts
August 26, 2011
January 17, 2011
Reviving a Vintage Paint by Number Kit
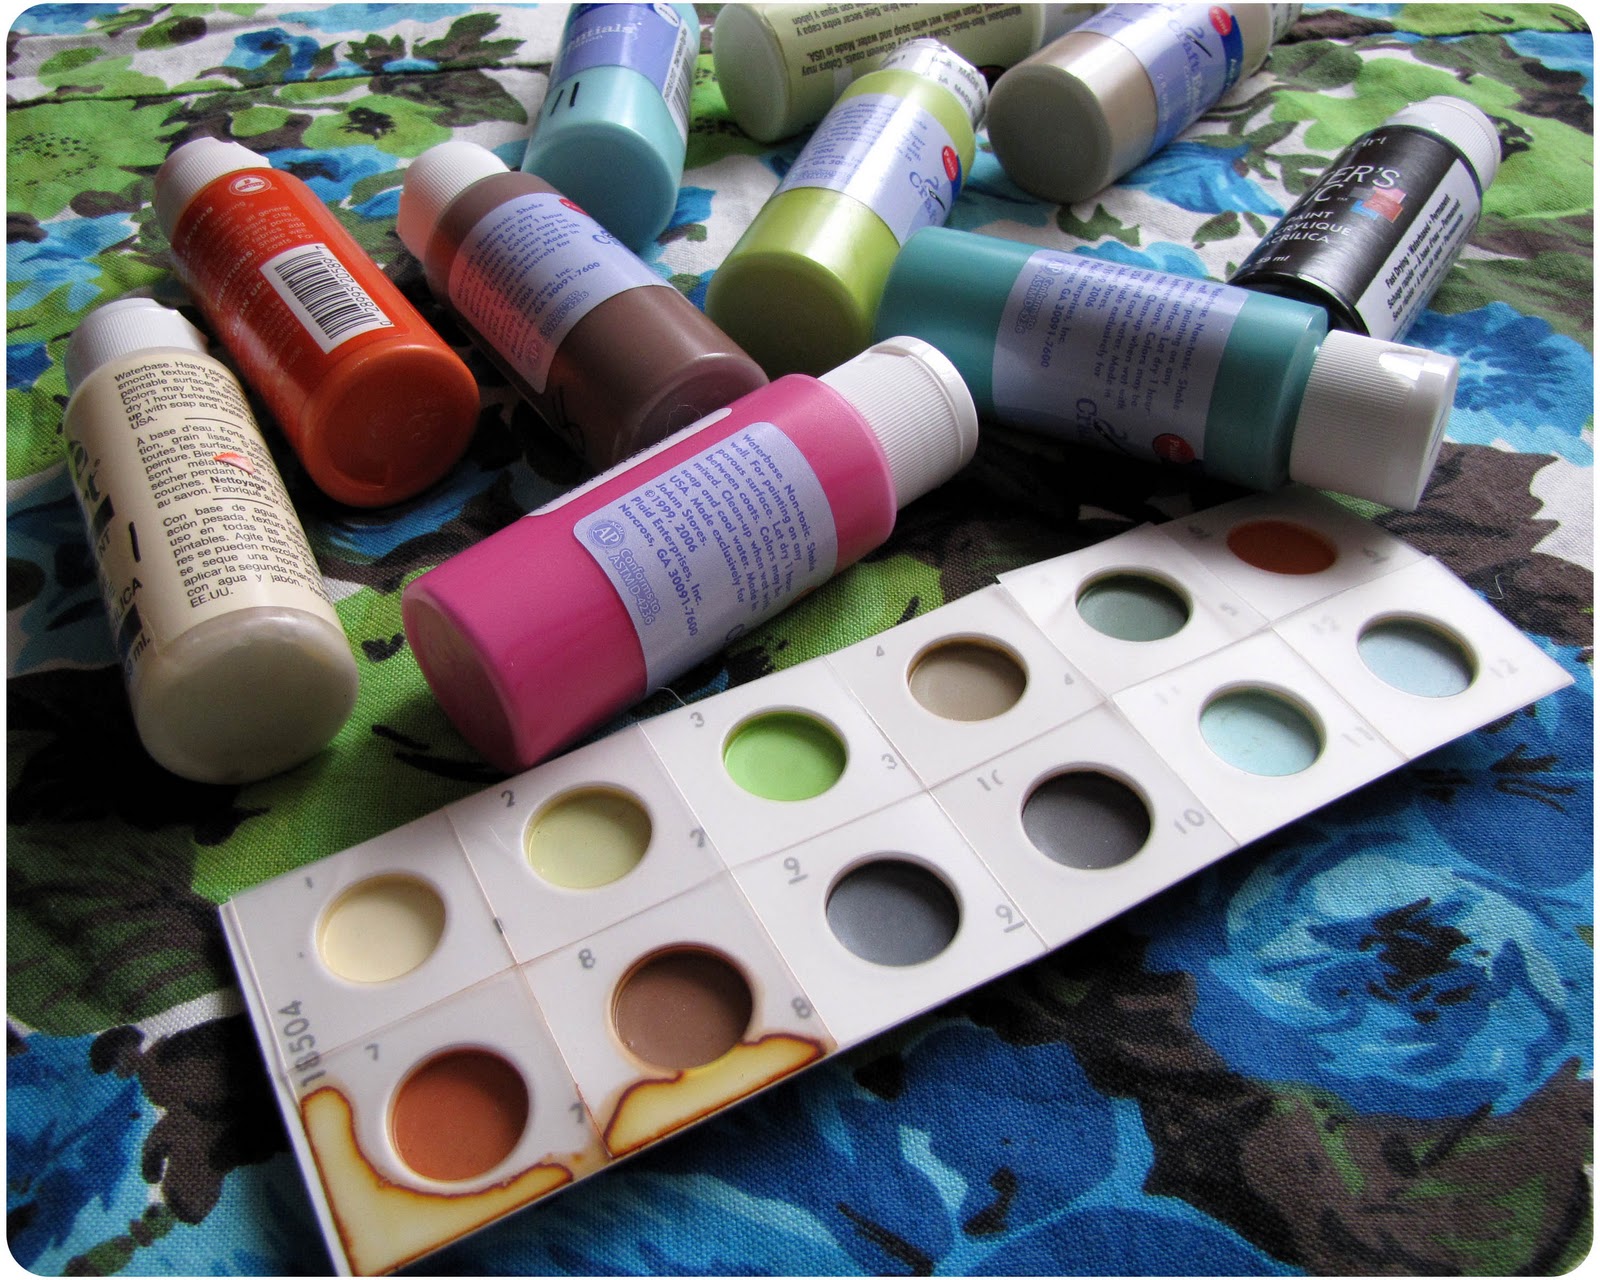
I purchased a couple of vintage paint by number kits on ebay over a year ago and I finally got around to figuring out what to do with them. As one would guess the paint in the kits were completely dried up and unusable:( I did some research online on how to revive old oil paints with out much success, all of the techniques seem to involve some icky chemicals! So I thought the next best thing to do would be to purchase oil or acrylic paints that match up to the original dried up paints. I didn't really want to pour tons of money into this project so I went with acrylic craft paints, I purchased them for 59 cents a bottle at Joanns. The only down side to using these inexpensive paints seems to be that the coverage is not so good and I'm having to re-coat a few areas, but that's okay:)
I decided that when purchasing my new paints I wouldn't have to match the colors up exactly and infact I used a fun pink color instead of the orange just to give my painting a fun and different look! I just made sure that the colors I choose looked good together and matched up well with the areas they were intended for and I was set!
Before I started to paint my canvases I decided that I should scan them so that I could use the "template" over and over again if I wanted. I figured I could print it out on watercolor paper and do a water color paint by number, or use colored pencils which would also be fun! The options are endless! So when searching for paint by numbers, consider purchasing and reviving an old kit! You'll have endless options and save a few bucks:) I've included a few kits that are for sale in my collections post below:)
I'll post more pictures when it's finished:)
I decided that when purchasing my new paints I wouldn't have to match the colors up exactly and infact I used a fun pink color instead of the orange just to give my painting a fun and different look! I just made sure that the colors I choose looked good together and matched up well with the areas they were intended for and I was set!
Before I started to paint my canvases I decided that I should scan them so that I could use the "template" over and over again if I wanted. I figured I could print it out on watercolor paper and do a water color paint by number, or use colored pencils which would also be fun! The options are endless! So when searching for paint by numbers, consider purchasing and reviving an old kit! You'll have endless options and save a few bucks:) I've included a few kits that are for sale in my collections post below:)
I'll post more pictures when it's finished:)
December 1, 2010
Tutorial: Kitschy Glitter Globe Ornament
I'm totally in love with kitschy Christmas decorations and GLITTER!!...yay I just love me some glitter during the holidays...don't you?....Any who so I wanted to create a fun little glitter "globe" to hang on our tree that little girl could help make! After seeing this lovely tutorial here and drawing inspiration from it, I came up with this little ornament and tutorial!Also, I created this with items found around the house so don't fret if you don't have a deer or such, the trees will be fab all by themselves!!
Supplies:
Baby food jar (with lid)
Glitter...YAY
Scrap fabric and felt(but you could just use fabric if you don't have any felt)
Q-tips or something similar that's easy to cut
Glue: white and hot glue
String to hang your ornament with
Any other interesting finds you would like to stick in there!!
Something to poke holes in the top of your lid, I used a drill press but you could also use a nail and hammer.
Step 1:
Make sure you've added your holes to the top of your lid and evenly paint it with your white glue.
Step 2:
Sprinkle your glitter using your finger to really press it on! After your done with the glitter use a pin to clear the holes and set it aside to dry.
Step 3:
Use the top of your jar to trace a circle onto the fabric you are using for the bottom of your jar. I traced the top of my jar instead of the bottom a it is much easier as is doesn't have a curve. Use your white or hot glue to glue your circle into the bottom of your jar.
Step 4:
Size and cut your Q-tips to fit in your jar, be sure to cut off the fluffy ends.
Step 5:
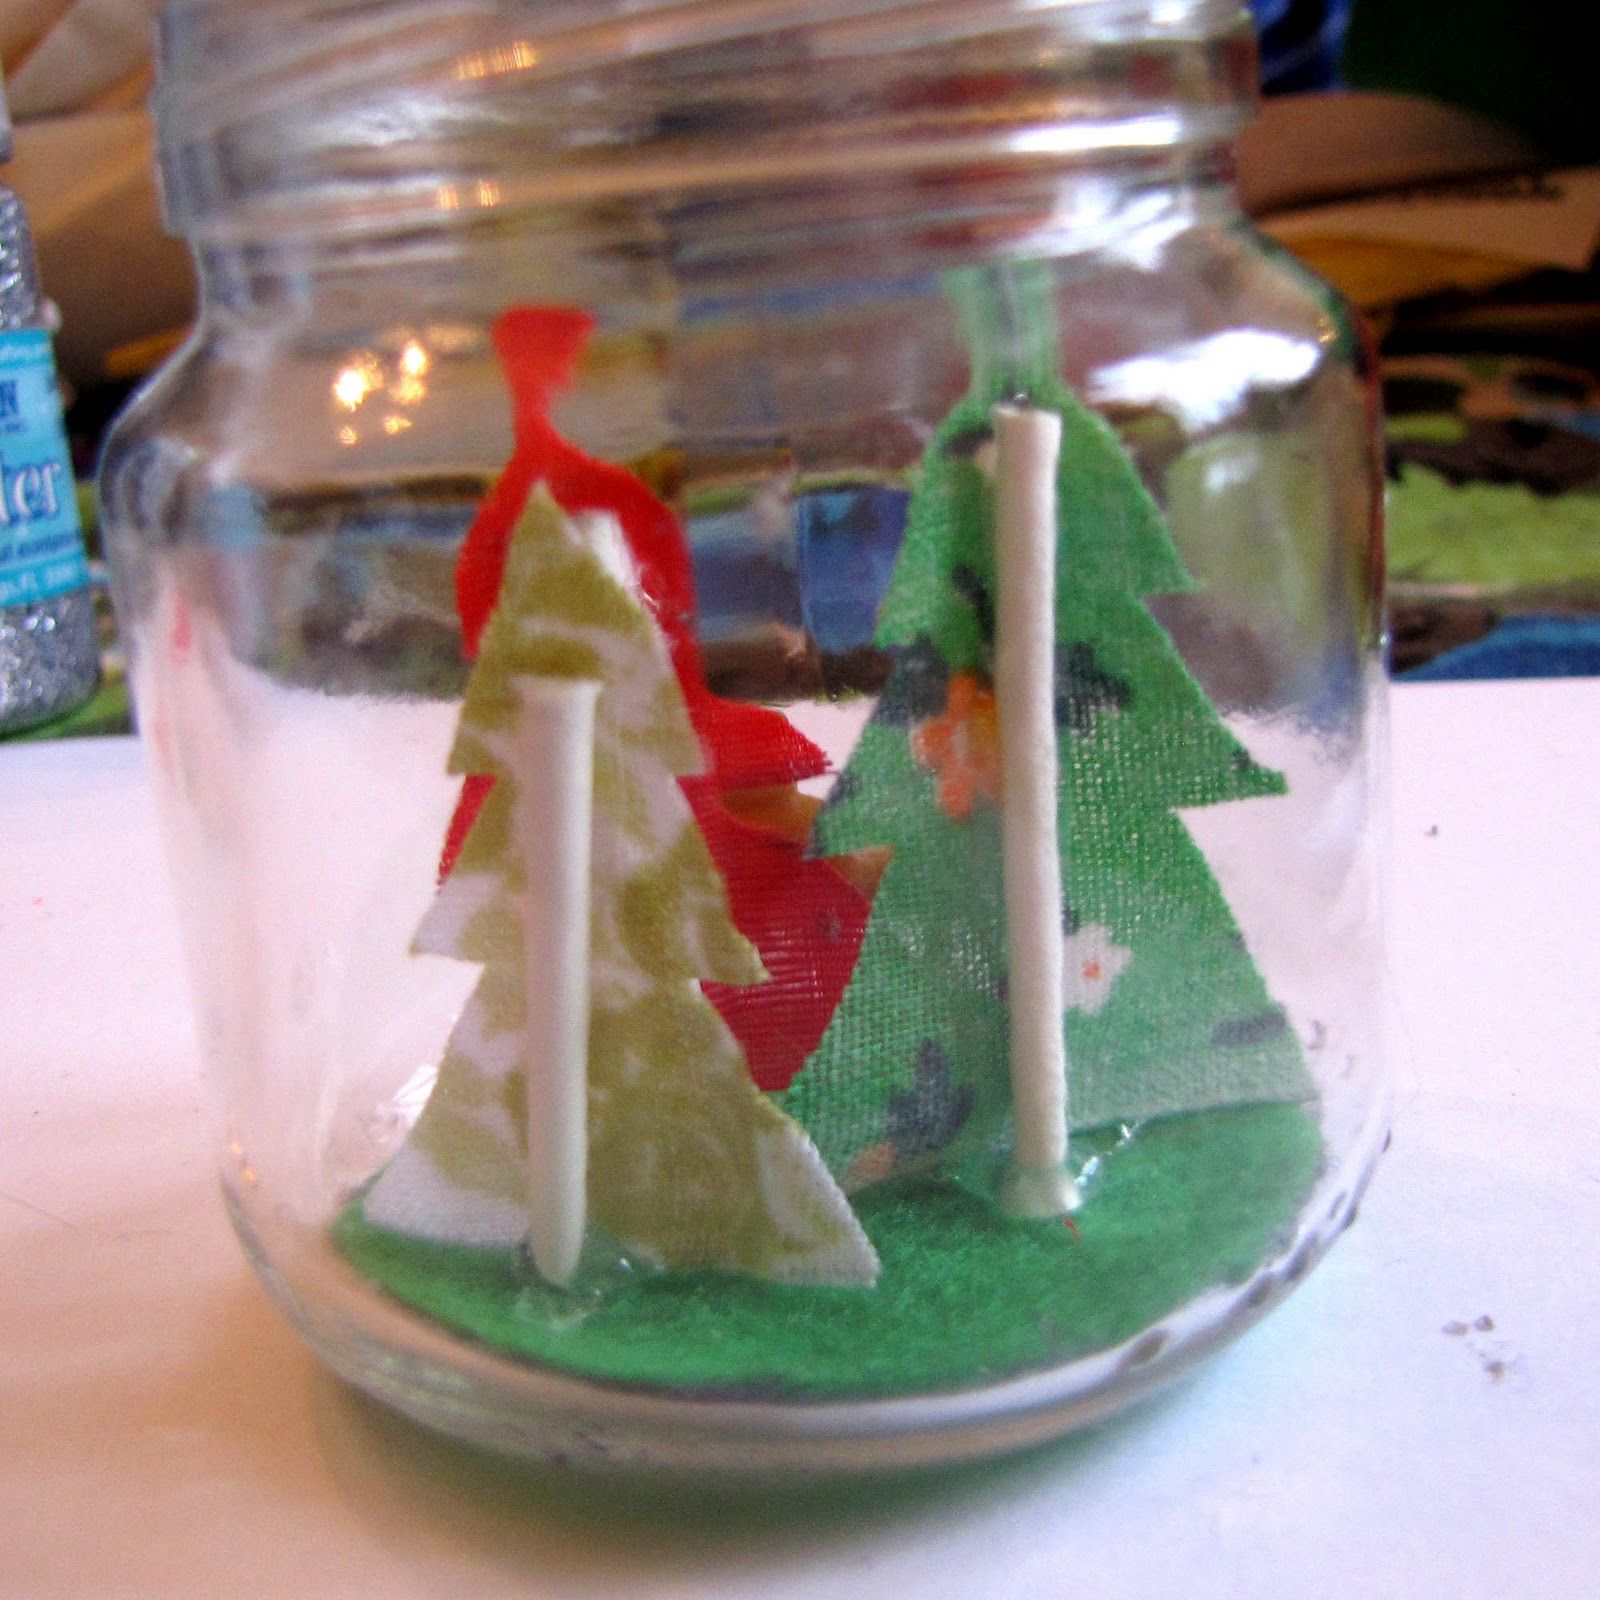
Create your trees using your scrap fabric. I ironed and used heavy starch on mine then freely cut them as I wanted them to have that handmade look:)
Step 6:
Use your hot glue to glue your trees onto your Q-tips. Then add a blog of glue to the bottom of your Q-tip and stick it to the bottom of your jar. Also use your hot glue to add any other little fun features to your jar.
Note: I choose to use hot glue for this step as it made it much easier to keep the trees standing and such:)
Step 7 and 8:
Add your glitter, I used a lot so it would look like snow drifts and cover up any big glue blogs that may have accidentally occurred..haha:) Add your string through your lid, and securely add,I glued mine because of little fingers:) lid to the jar.
Your Done!!! Shake it up,hang it up and enjoy!!
Little F.Y.I: So apparently baby food jars have a seem in the glass...hmmm...which unfortunately I did not pay attention to...haha.. and wouldn't you know it's right smack in the front of my little scene. My husband told me it makes it look vintage because of the wavy glass..hmmm....thanks honey:)
November 2, 2010
**Tutorial**No Sew Vintage Fabric Magnets
I know there are probably tons of tutorials out there on how to make fabric magnets, but here's my little take on a simple project:) I tried to make mine very toddler friendly yet still no sew as I wanted my daughter to be able to play with them with out having to worry about her eating the magnets and such!! However, if you are not worried about little mouths and fingers or if do not have a laminator I've also offered an alternative way to construct these magnets!
Supplies:
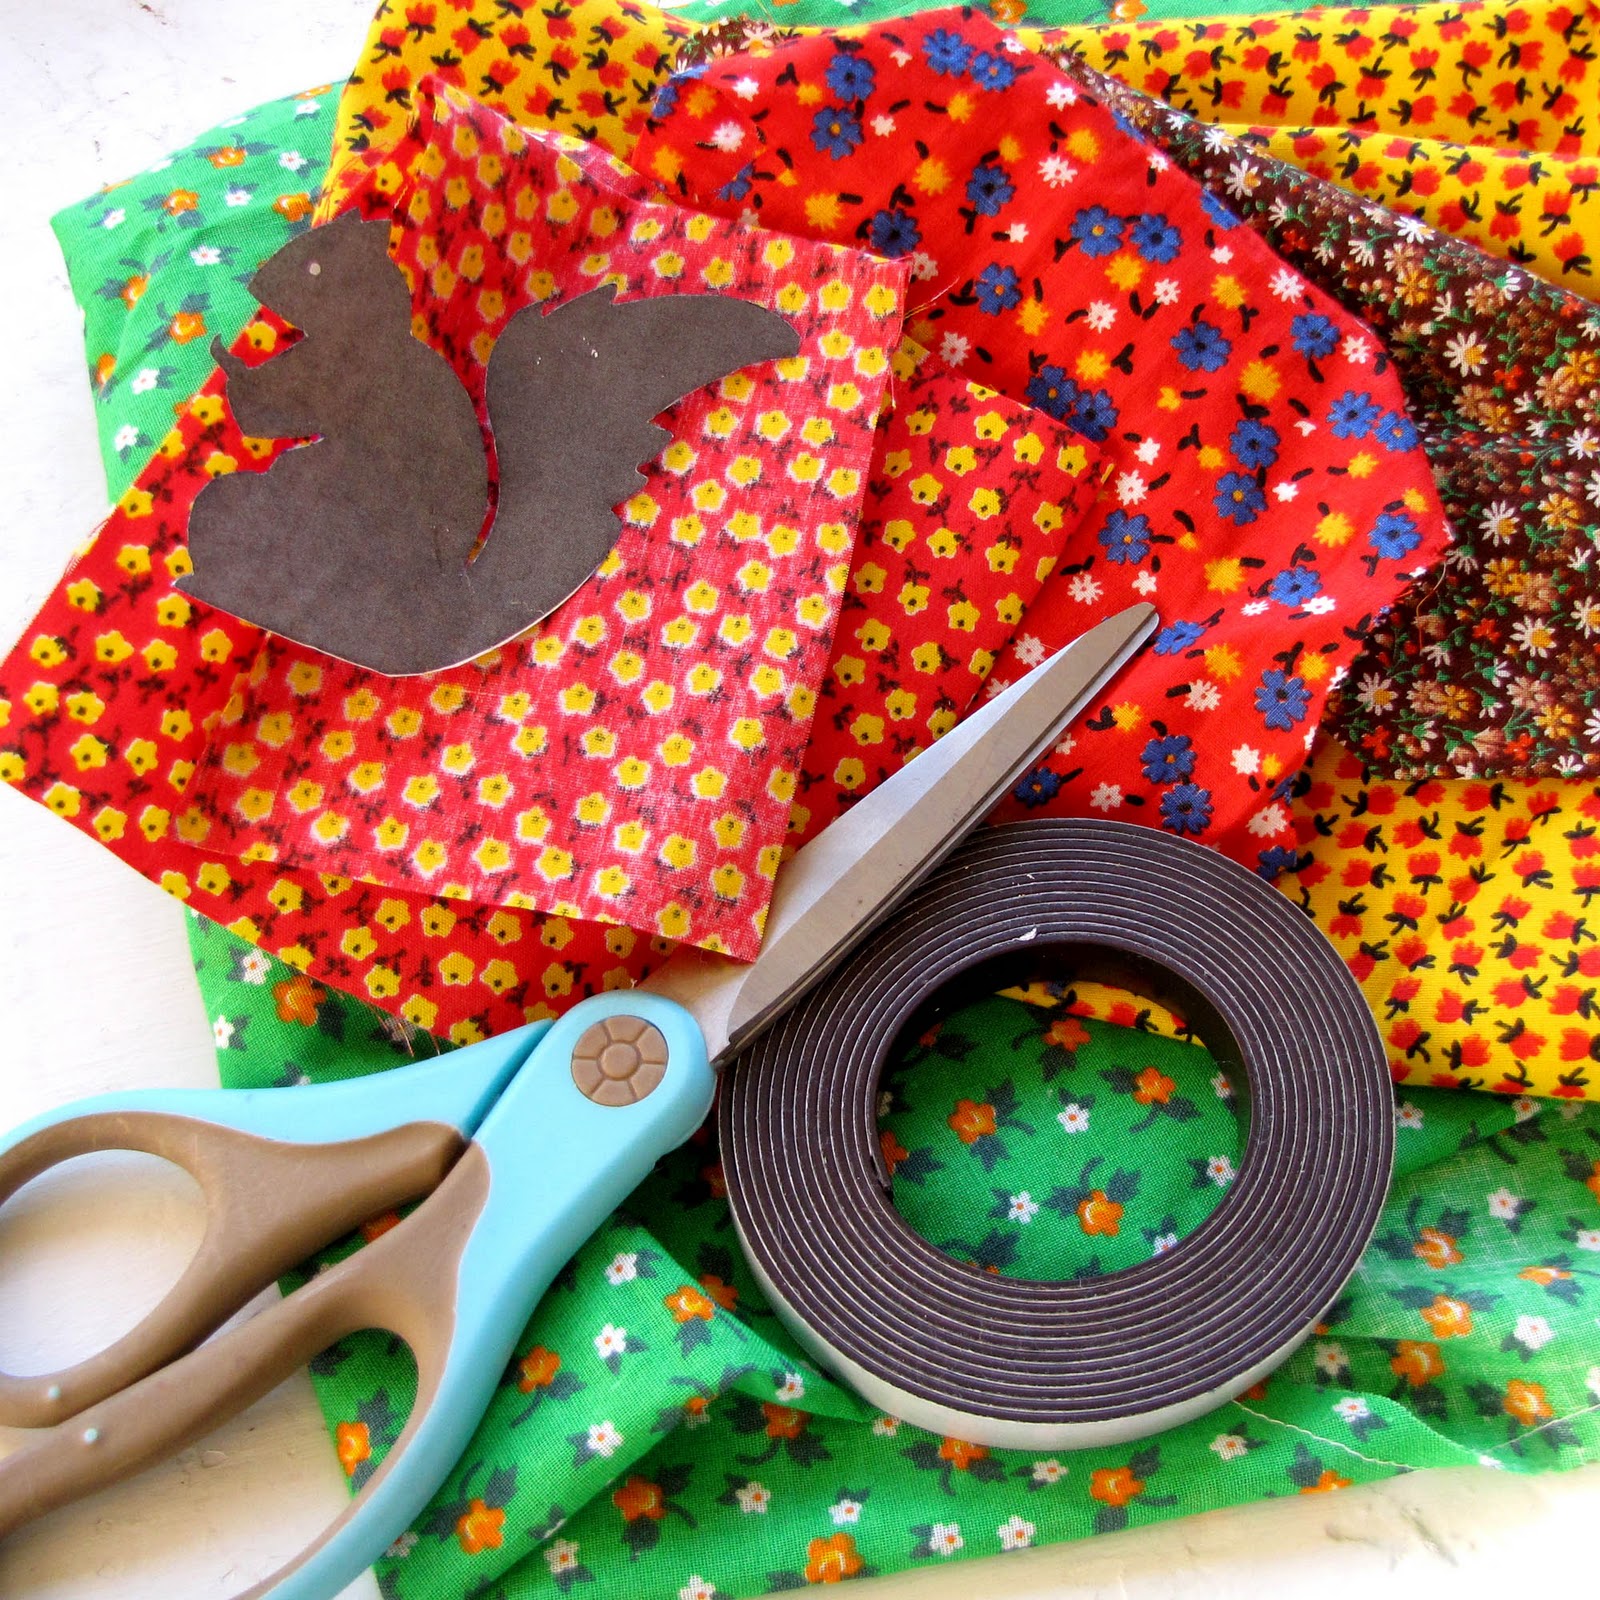
*Vintage fabric scrapes, or other fun fabric scrapes
*Magnets (if laminating use a flat flexible peel and stick type magnet, if your not laminating you can use any type of magnet)
*Iron on interfacing: if your not laminating make sure you have a thick/stiff interfacing so that your magnets hold it's shape, if laminating any interfacing should do, I used one made for light weight fabric
*Laminator and laminating sheets
Step One:
Find clipart templates, or create your own templates, to use for the shape of your magnets.
Step Two:
Iron interfacing onto the backside of your fabric. Trace the template you created and cut out earlier onto the interfacing that you ironed onto your fabric. NOTE: the interfacing makes it much easier to trace and cut out intricate shapes.
Step Three:
Cutout shapes and add magnets. If your not laminating and you used a thick interfacing your finished!! I would recommend however that you use a very strong glue for the magnets, even if they are the peel and stick type because they really don't hold there sticky very well:( If you are laminating make sure that you do stick your magnets on before you laminate. As this is the part that keeps your magnets safe from little fingers and mouths:)
Step Four:
Run your magnets through the laminator. When I put my magnets through the laminator I cut out the laminating sheets to fit around each piece of fabric and ran each magnet through individually. I had to run each magnet through several times and in a variety of directions so that they would be good and sealed. The magnets can cause gaps but if you change the direction of your magnet and fabric each time you run it through your machine you will be able to seal off the gaps.
Your Finished!!!!
Sit back and admire your new magnets, and if you have little one's you can share if you would like:) We live in an old house and have metal kitchen cabinets and radiator's(don't worry there not hot) so there have been lots of places for little girl to stick her new magnets!
These also make great little gifts and fit perfectly inside of a card:)
October 25, 2010
DIY Vintage Toy Makeover
I found this super fun vintage toy phone for little girl a few months ago but had yet to let her use it as it wasn't really in the best shape. It was missing most of it's stickers and was looking a little "under the weather." So I decided to give it a quick little makeover, you can use this same idea with many vintage toys that may need a little TLC:)
SUPPLIES:
Extra Hold Heat and bond
Fun fabric of your choice
Non toxic glue that is good for non-porous surfaces, I used " Crafter's pick, the ultimate non-toxic glue
HINT: you will only need glue if you have tight areas that can not be ironed
Here's a before Picture:
Project Steps:
1.Create and cut out paper templates that fit the areas of the toy you would like to cover.
2.Iron heat-and-bond to the back side of your fabric
3.Trace your templates onto the heat-and-bond.
4.Cut out your pieces and iron onto your toy. Make sure to keep the iron heat low enough so as not the burn or melt the plastic.
*for smaller pieces that can not be ironed you can use your glue instead:)
*You can also glue all of the pieces instead of using the heat and bond, however I think it had a much more finished and durable look and feel when I used the heat-and-bond:)
5. (if needed) I took a fine sharpie paint pen and re-painted the letters, I really loved how easy it was to use!!
Your Finished!!
SUPPLIES:
Extra Hold Heat and bond
Fun fabric of your choice
Non toxic glue that is good for non-porous surfaces, I used " Crafter's pick, the ultimate non-toxic glue
HINT: you will only need glue if you have tight areas that can not be ironed
Here's a before Picture:
Project Steps:
1.Create and cut out paper templates that fit the areas of the toy you would like to cover.
2.Iron heat-and-bond to the back side of your fabric
3.Trace your templates onto the heat-and-bond.
4.Cut out your pieces and iron onto your toy. Make sure to keep the iron heat low enough so as not the burn or melt the plastic.
*for smaller pieces that can not be ironed you can use your glue instead:)
*You can also glue all of the pieces instead of using the heat and bond, however I think it had a much more finished and durable look and feel when I used the heat-and-bond:)
5. (if needed) I took a fine sharpie paint pen and re-painted the letters, I really loved how easy it was to use!!
Your Finished!!
August 27, 2010
*Tutorial* Boys Button Down Turned Girls Lace and Ruffles Tunic/Top!!
I've totally fallen in love with all the vintage plaid tops and dresses I've seen lately, and when I saw this boys plaid button at the thrift store last week I knew it had great potential as a girls top!! This tutorial is super easy and quick and requires very little supplies or sewing!!
Supplies:
*Boys button down, I choose a size larger than what my daughter normally wears so it could be more of tunic/dress.
*Lace-the pre-ruffled kind works best(I used two different sizes but one size will also work)
*The normal sewing supplies...scissors, pins and needles, and sewing machine.
Step One:
Measure your lace down each side of your shirt, I cut my lace a little longer than needed just in case:) It's always easier to cut it off in the end than it is to add more!
..also measure and cut the lace that you will be using for your collar
Step Two:
Pin lace in place and stitch. I pined and sewed one side and then went back and pinned and sewed the other side. Below I've included a picture to give you a better idea of wear to pin your lace so that the lace will be even on each side once buttoned.
Step Three:
Pin and sew collar lace in place, making sure to sew the lace on the underside edge of the collar.
Step Four:
Trim lace and your finished!! This tutorial would also work well for a woman's top as well!
Supplies:
*Boys button down, I choose a size larger than what my daughter normally wears so it could be more of tunic/dress.
*Lace-the pre-ruffled kind works best(I used two different sizes but one size will also work)
*The normal sewing supplies...scissors, pins and needles, and sewing machine.
Step One:
Measure your lace down each side of your shirt, I cut my lace a little longer than needed just in case:) It's always easier to cut it off in the end than it is to add more!
..also measure and cut the lace that you will be using for your collar
Step Two:
Pin lace in place and stitch. I pined and sewed one side and then went back and pinned and sewed the other side. Below I've included a picture to give you a better idea of wear to pin your lace so that the lace will be even on each side once buttoned.
| Pin and sew lace on seem next to button, see pin placement. |
| Pin lace and sew lace on the seem next to the button holes. |
Step Three:
Pin and sew collar lace in place, making sure to sew the lace on the underside edge of the collar.
Step Four:
Trim lace and your finished!! This tutorial would also work well for a woman's top as well!
August 5, 2010
Tutorial:Easy Lace Embellished Tank top
Seriously this is getting ready to be one of the easiest/quickest shirt make-over's you have ever done!! Yeah for quick!! I think this took me a total of 15 minuets (changing the bobbin took the longest..dang)! This is perfect to use on one of those shirts where the neckline is just slightly and uncomfortably to low, or when you like the layered look but not when it's 105 outside!!
Supplies you'll need:
*Small section of wide cotton lace
*Tank-top or shirt to make-over
*and the usual supplies a sewing machine or needle and thread, pins, and scissors.
Step One:
Flip shirt inside out and measure and trim enough lace to reach across the opening of your shirt. Pin lace in place and get ready to sew! Use a zig-zag stitch being careful not to stretch your top as you go to prevent puckering and waves in your finished shirt. If your worried about stretching your top you can starch your shirt before you sew to make things go a little smoother:)
Step Two:
Trim lace and your finished!!! Enjoy your new shirt:)
P.S I'm loving my new crocheted necklaces with this shirt!!:)
July 29, 2010
Tutorial: ** Lace and Ruffles Bib Top**
I've been in sort of an orange and brown 70's floral throw back sort of mood lately so I came up with this little vintage inspired lacy bib onesie. My husband said it reminded him of the old shag carpet...hmmmm...not really sure if that was a complement.... but he thought so..... whatever I look horible in pink and my daughter has my coloring.....LOL:)
Anywho...on to the project:
Supplies:
Shirt to make-over
Double sided iron on interfacing
Cute fabric of your choice
Lace, the pre-ruffled kind works best
Fun Buttons
paper to create your template with
And the usual sewing supplies...pins, scissors, iron, and a Sewing machine..however you can always handstitch
Step One:
Create your bib template using your piece of paper, I like to use brown Kraft paper, you know the kind that comes in the rolls in the shipping section of the store. This sounds much harder than it really is, basically lay your sheet of paper over your shirt of choice and lightly feel for the rim of the shirt and trace onto your paper. Now sketch an oval bib shape under the edge/rim you just created on your paper, it doesn't have to be perfect as you can fix it later:) Now cut it out and try it out on top of your shirt, to make the sides even simply fold in half and re-size your template as needed.
Step Two:
Cut a piece of interfacing a little larger than your bib template and iron onto the back side of your fabric. Make sure and follow the manufactures directions for the interfacing, ironing to long or accidentally using stem can really turn into a big oops, experience speaks here:)
Step Three:
Trace and cut out bib template from your newly ironed fabric and interfacing.
Step Four:
Peel off interfacing backing and carefully place and iron bib onto your shirt. Again being careful to follow the directions for the interfacing:)
Step Five:
Get ready to stitch, I initially used a zig-zag stitch around the edge of my bib, then me and my sewing machine had a little disagreement so it turned out half zig-zag half straight stitch...LOL:) Hence why the stitching around the top of the bib looks a little out of sorts:)
Step Six:
Lay out your lace to measure approx. how much you will need, I usually cut a little more than I will need as it's always easier to trim it off in the end:) Once you've cut your lace pin it around the perimeter of your fabric bib and stitch. Being careful not to stretch your fabric while sewing as this will cause puckering and "waves" in your bib.
Step Seven:
Lay out an stitch your second piece of lace as you did your first piece. Remember to stitch your wider piece of lace first laying your narrower piece of lace on top. Also, note that you can just use one piece of lace, or as many as you would like:)
Step Eight:
Your basically done...yes!! Trim your lace and sew on your buttons. I always use super strong and thick nylon thread when stitching buttons onto little girls clothes so that they are more likely to stay put:)
This tutorial doesn't have to just be used for a onesie, this idea can really be used on any size top! This is also a great way to cover those yucky chin drool stains:)
Enjoy!
Please let me know if you find any mistakes or have questions along the way:) I'll be more than happy to help!
Subscribe to:
Posts (Atom)